
Recently, I decided to set up a security testing environment using Kali Linux and bWAPP (BeeBox). I thought this would be a great opportunity to practice some penetration techniques. To ensure my security during the process, I used a VPN alongside a NAT configuration.
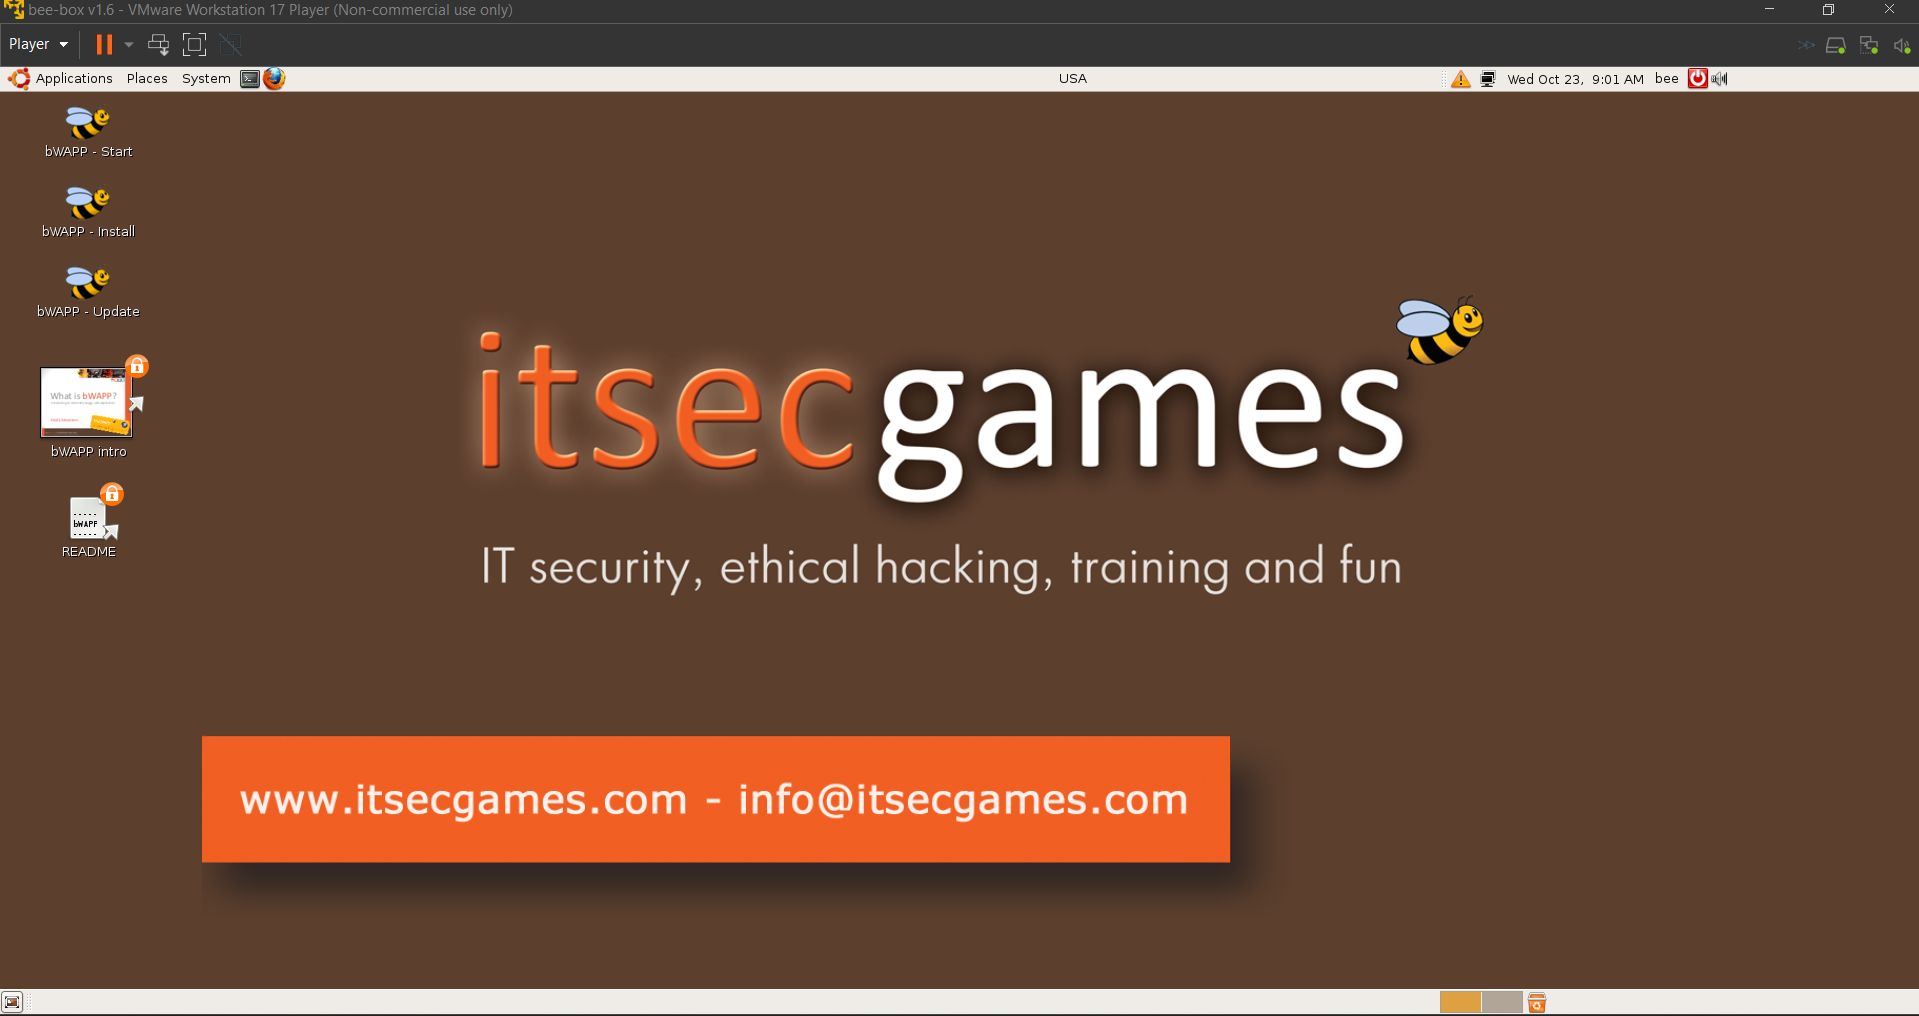
What is the bWAPP Bee Box?
bWAPP (Buggy Web Application) is an intentionally vulnerable web application designed to help students and security professionals learn about common vulnerabilities that can be found in web applications. Bee Box is a version of bWAPP that comes pre-configured in a virtual machine, making the setup process much easier.
Setting Up Kali Linux
- Download and Installation: Start by downloading the Kali Linux ISO image from the official website. After the download, create a new virtual machine in VMware and follow the installation wizard.

- Network Configuration: To allow the VMs to communicate, I adjusted the network settings. I opted for a NAT connection, which seemed to be the best option for my scenario.
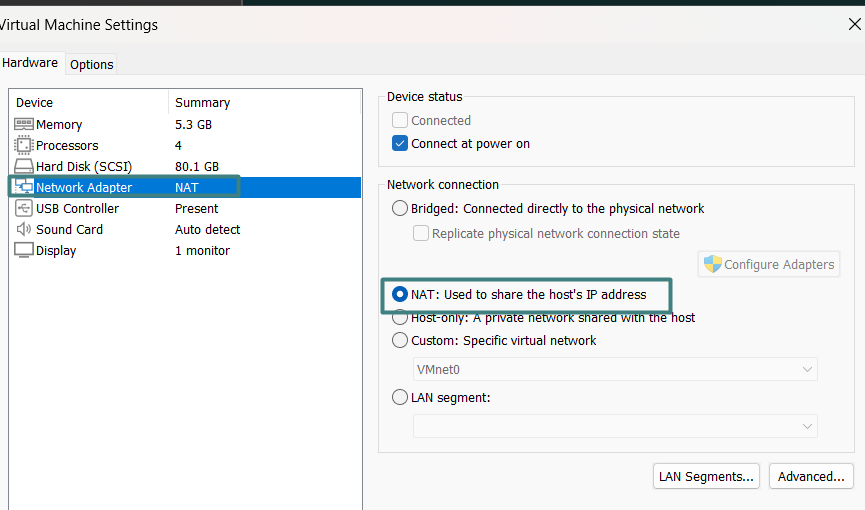
Why I used NAT: NAT (Network Address Translation) allows virtual machines to share the host machine’s IP address, making communication between the VMs easier without needing public IPs. This was crucial to keeping the environment controlled and private, especially since I was using a VPN.
Using NAT with the VPN: By using NAT, all network traffic from the virtual machines passes through the host machine’s network interface, which was already connected to the VPN. This was ideal because I wanted the VM traffic to also be protected by the VPN without having to configure it individually for each VM. Essentially, the VMs’ network traffic is masked by the host’s IP, while the VPN ensures that this traffic is encrypted and routed through a secure tunnel.
- Installing Tools: After configuring the network, I installed some essential tools I use for penetration testing, like ZAP Proxy, which helped me explore security vulnerabilities, particularly related to web attacks like SQL injections and authentication flaws.
Setting Up bWAPP
- Download and Installation: You can download bWAPP from the official site. Extract the files to an accessible folder. It’s important to remember that your antivirus might block the installation, as it could identify it as malicious.
- IP Configuration: The bWAPP VM was assigned an IP, such as
192.168.163.135, via DHCP rather than setting it manually. It’s important to note that you should not use the VPN IP, but rather the internal IP of the virtual machine. To find the internal IP, you can run theifconfig(orip ain newer versions of Kali) command. This will display all network interfaces of the machine, and the IP you should use is the one associated with the interface connected via NAT, such as “eth0” or “ens33.”
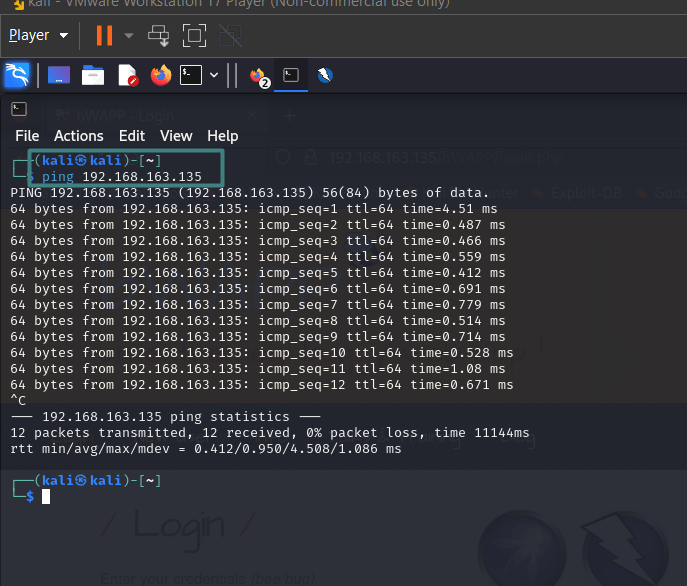
Testing the Connection
To make sure everything was working, I ran a ping command from Kali to the bWAPP IP, which was set as 192.168.163.135:
All tests were conducted on Kali, and seeing the ping responses come back was a good sign that the VMs were communicating properly and that the NAT network was functioning as expected.
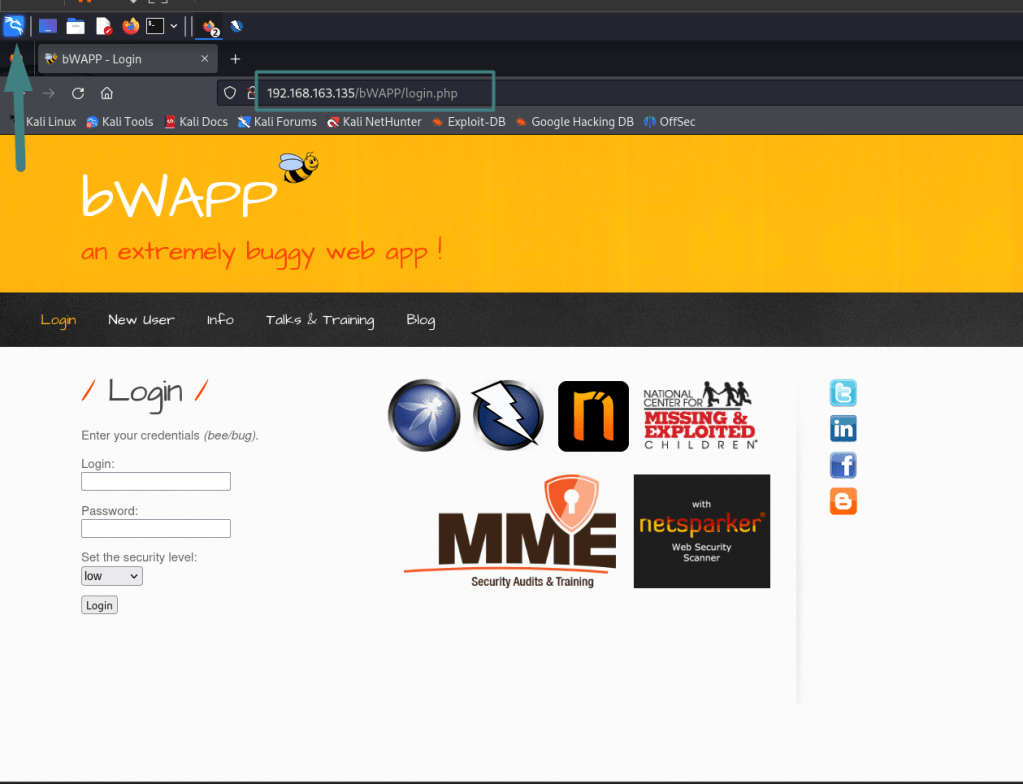
I left the bWAPP machine open for consultations only, and an additional way to test the connection was by entering the login address (http://192.168.163.135/bWAPP/login.php) into the Kali browser. This not only confirmed that the VMs were communicating correctly but also allowed me to check if the bWAPP web server was accessible.
Exploring Vulnerabilities
Now it was time to explore bWAPP’s vulnerabilities. One of the first tests I did was using ZAP Proxy, a powerful tool that allowed me to monitor and manipulate HTTP requests, identifying and exploiting web vulnerabilities like SQL injections on the /bWAPP/login.php endpoint.

Seeing the tool in action and revealing security flaws was incredibly rewarding and a great learning experience!
Conclusion
Setting up Kali Linux and bWAPP has been an incredibly fulfilling journey. I not only managed to create a secure testing environment but also gained valuable insights along the way. Using a VPN provided me with the confidence that my traffic was encrypted and protected, allowing me to dive deeper into my learning experience. I’m excited to continue exploring the world of cybersecurity and share more of my findings and growth in the future.

Leave a comment